You Knead Sourdough
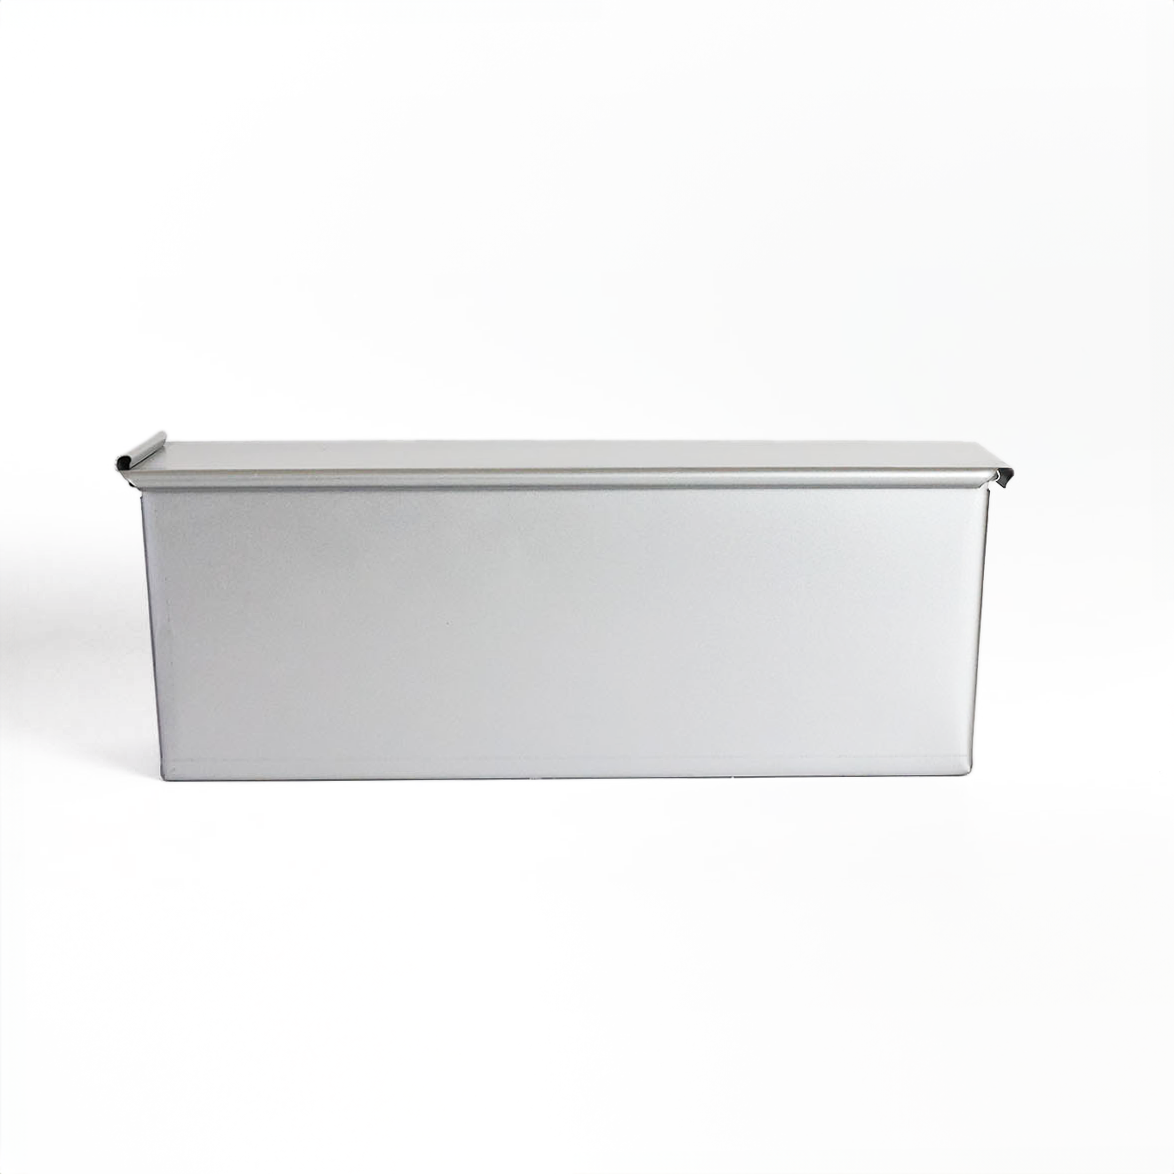
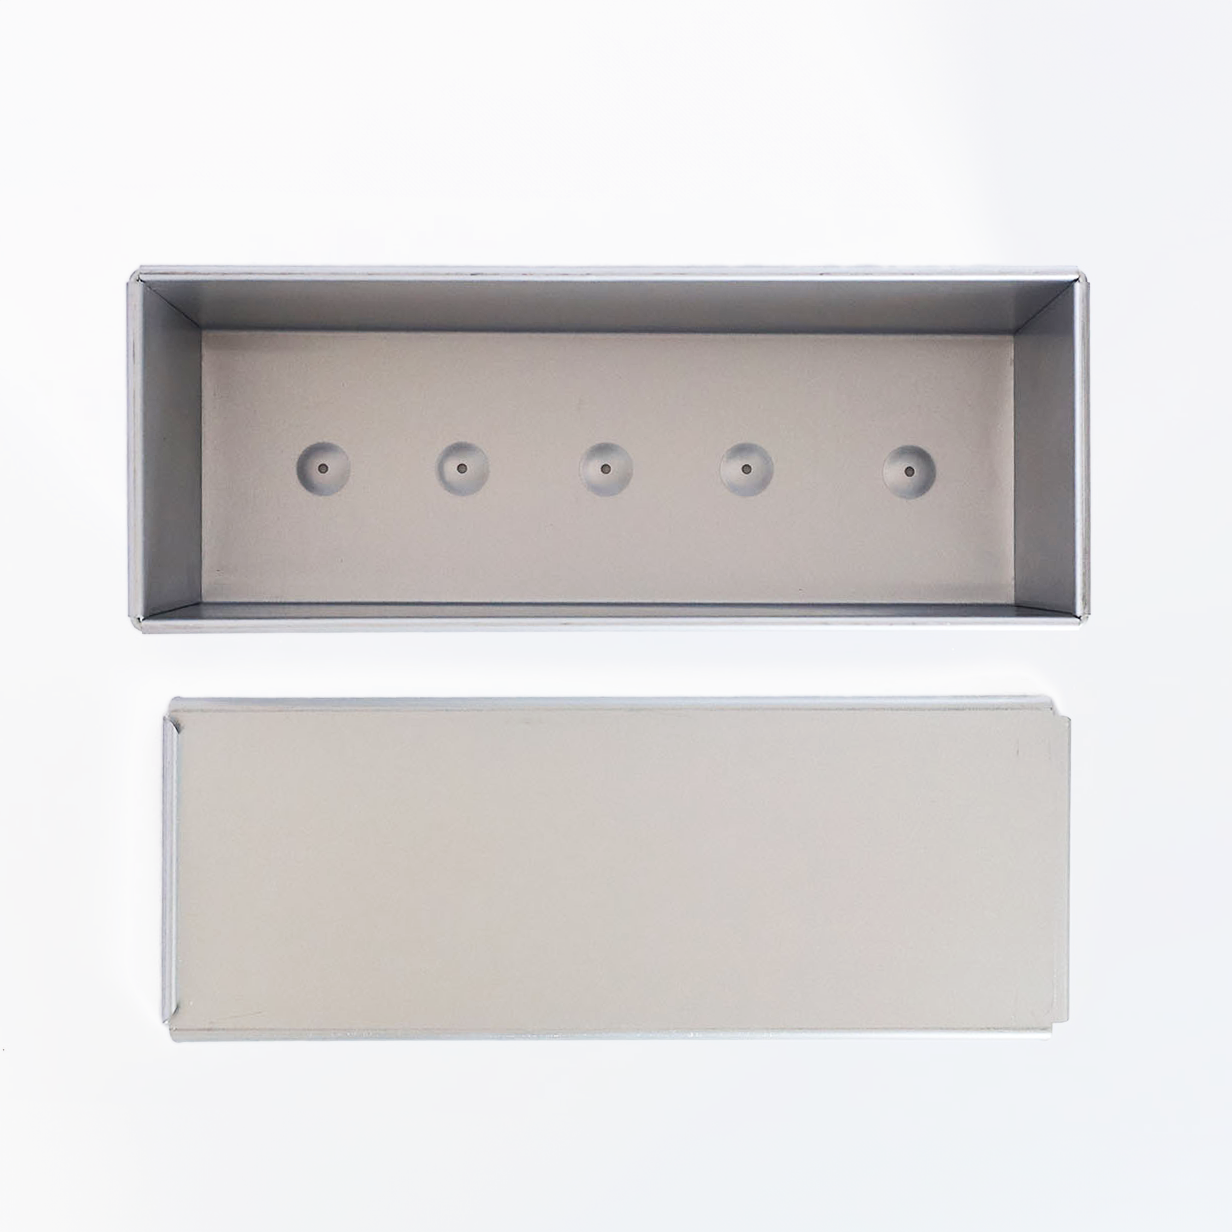
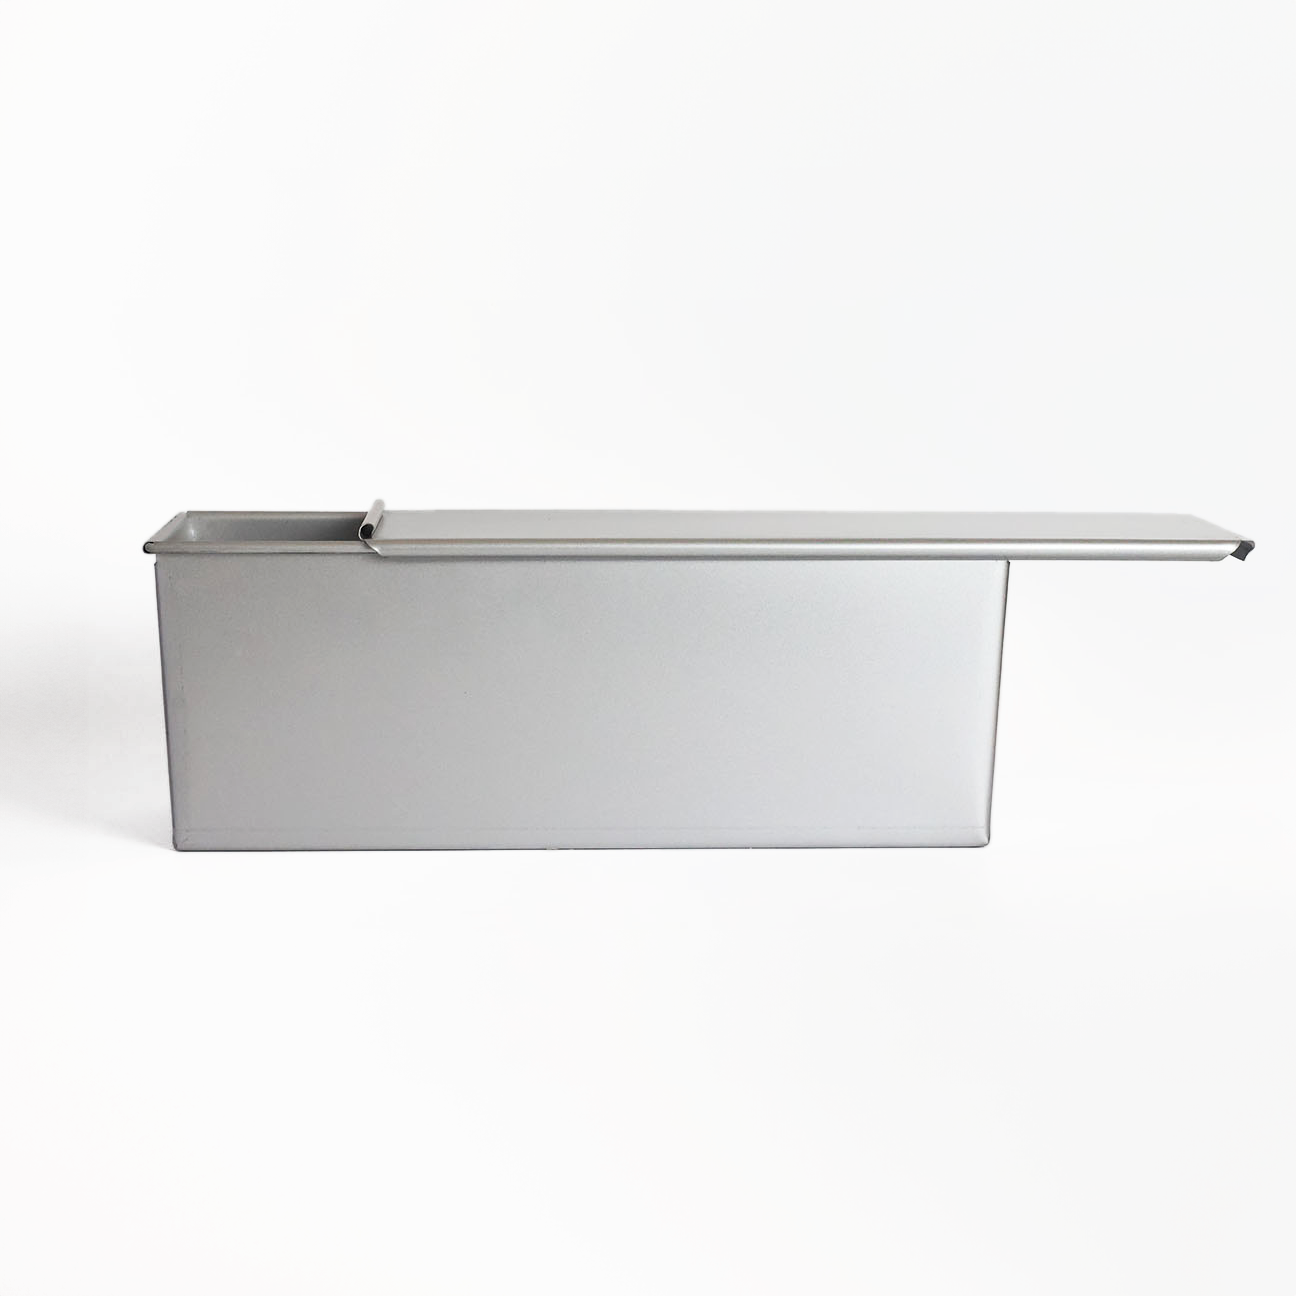
Heavy Duty Bread Tin with Lid
Heavy Duty Bread Tin with Lid
Couldn't load pickup availability
-
Quality Australian ingredients (supporting Australian farmers)
-
Thousands of happy home baking customers
Share
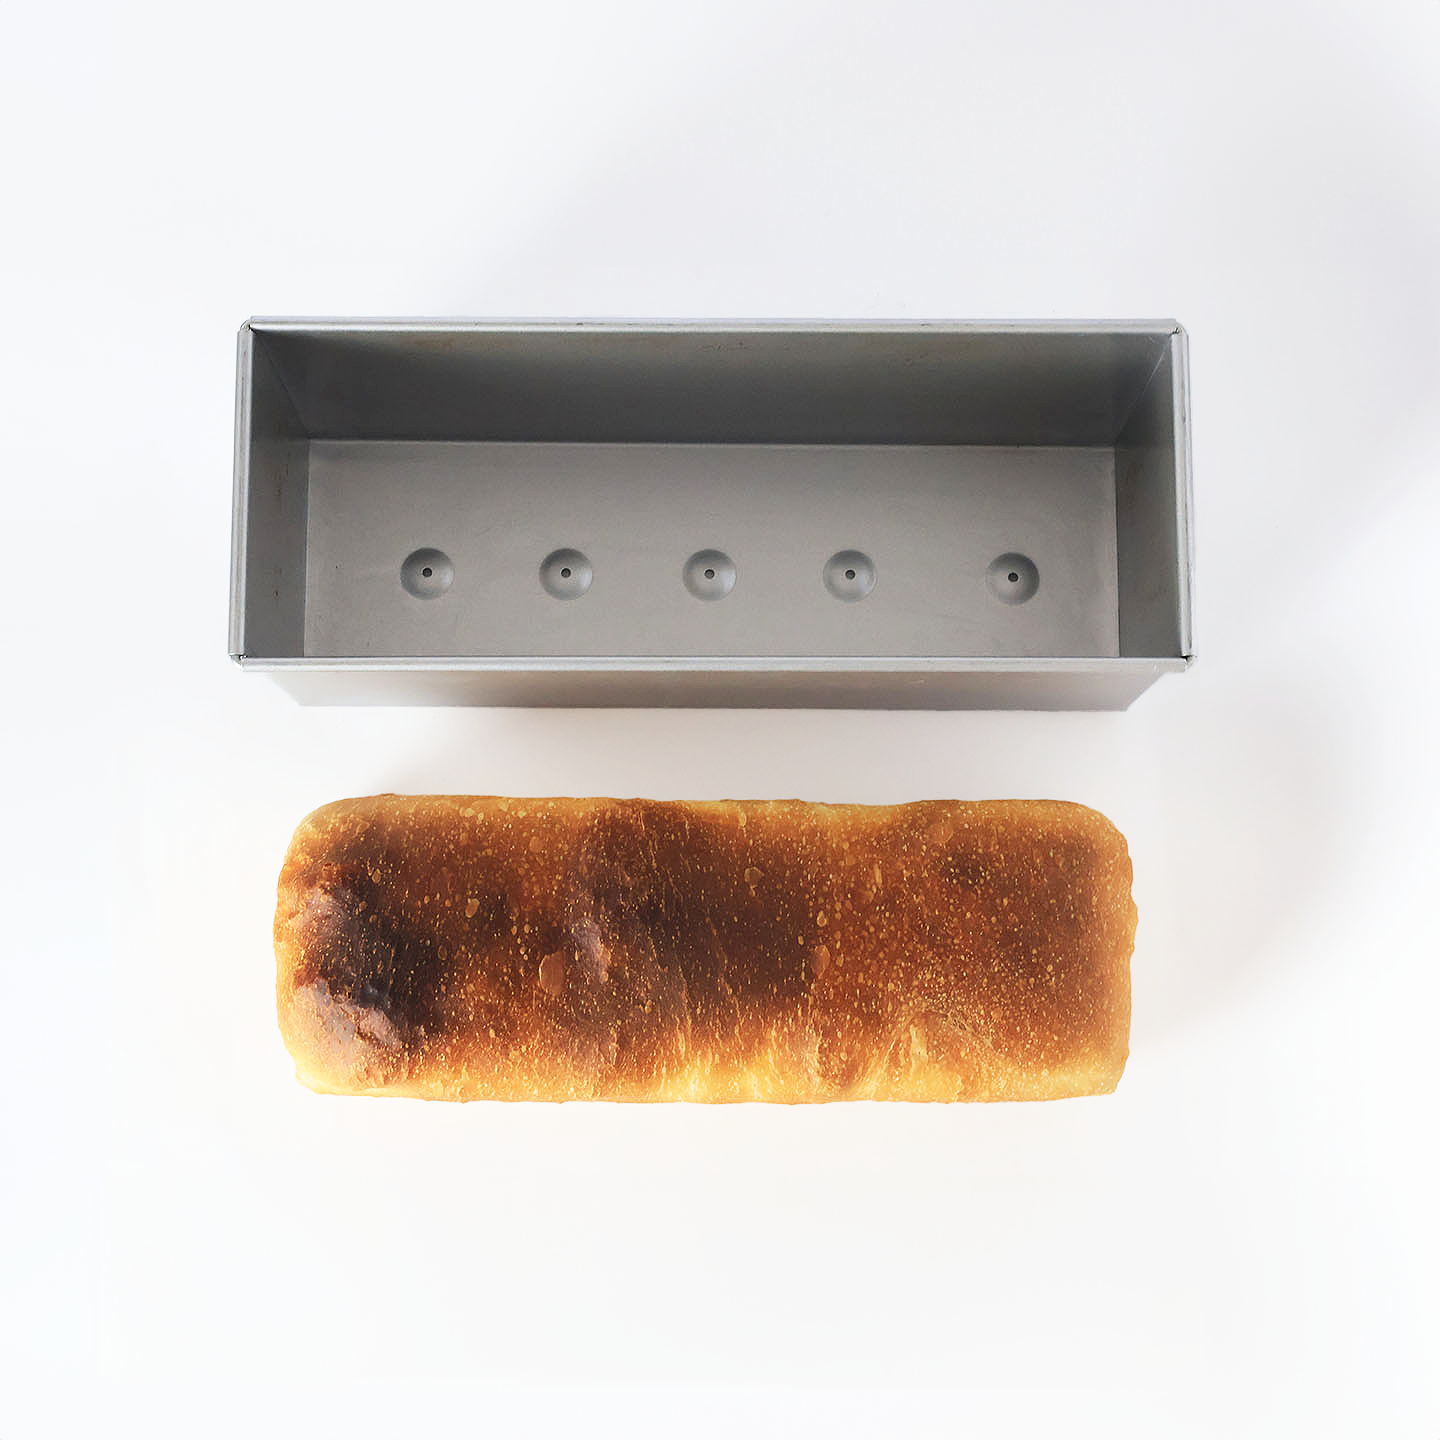
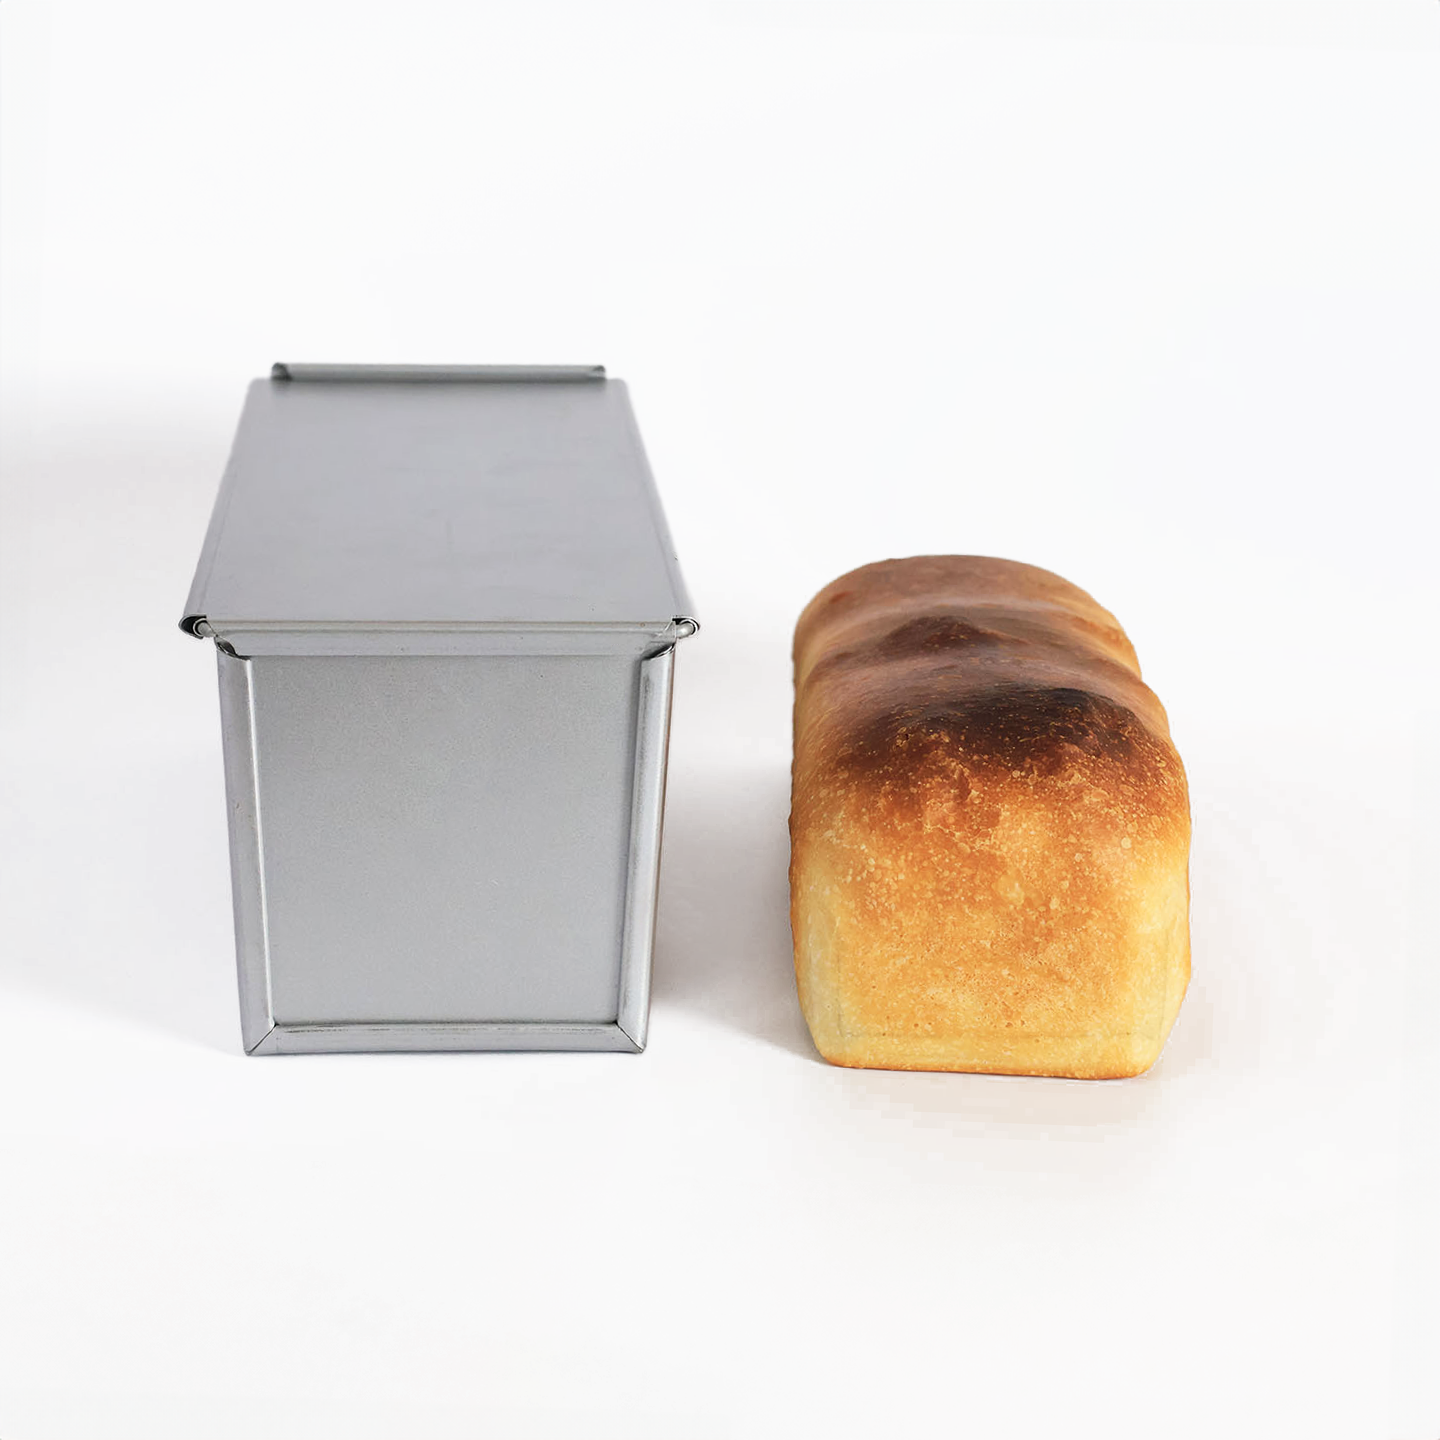
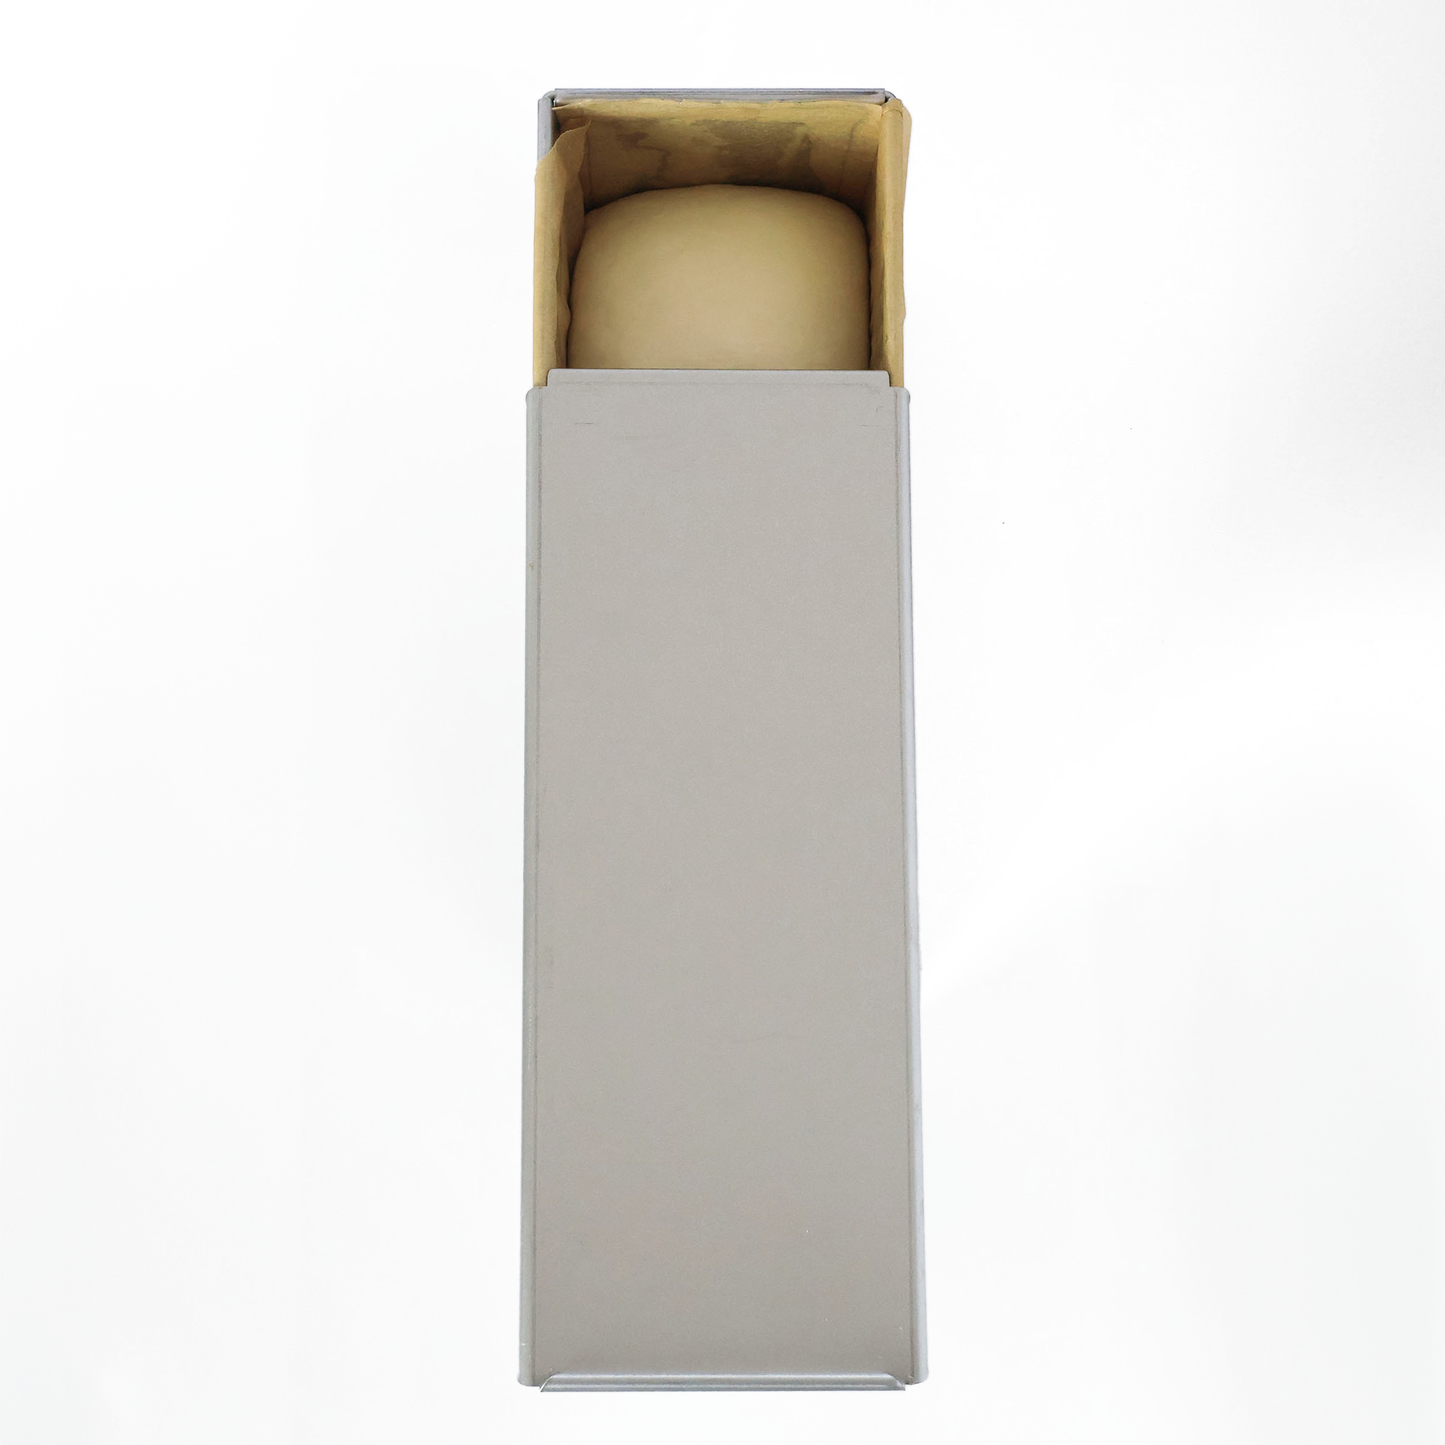
Experience the joy of baking with our Heavy Duty Bread Tin with Lid. Perfect for creating ideal sourdough loaves for sandwiches and toasties, its compact size allows you to bake multiple loaves even in smaller ovens. Keep the lid on the bread tin for the first 20 minutes of baking to help create a steamy environment for your bread to rise. We recommend lining the tin with baking paper for mess-free baking.
Features
- 30cm long * 10.5cm wide * 10.5cm high
- High-grade aluminium construction
- No Teflon - just aluminium! For this reason we recommend baking paper, or you can build a seasoning layer over time (but baking paper is the sure fire non-stick method!)
- Suits 1000g-1200g dough (the recipe size loaf or a slightly larger loaf. You can scale the recipe up by 20% to fit nicely into this tin).
- Fridge, freezer and oven safe
-
Prepare Your Dough: Adjust our basic bread recipe by increasing the ingredient quantities by 25% to perfectly fit this tin. This ensures a fuller, even loaf every time.
-
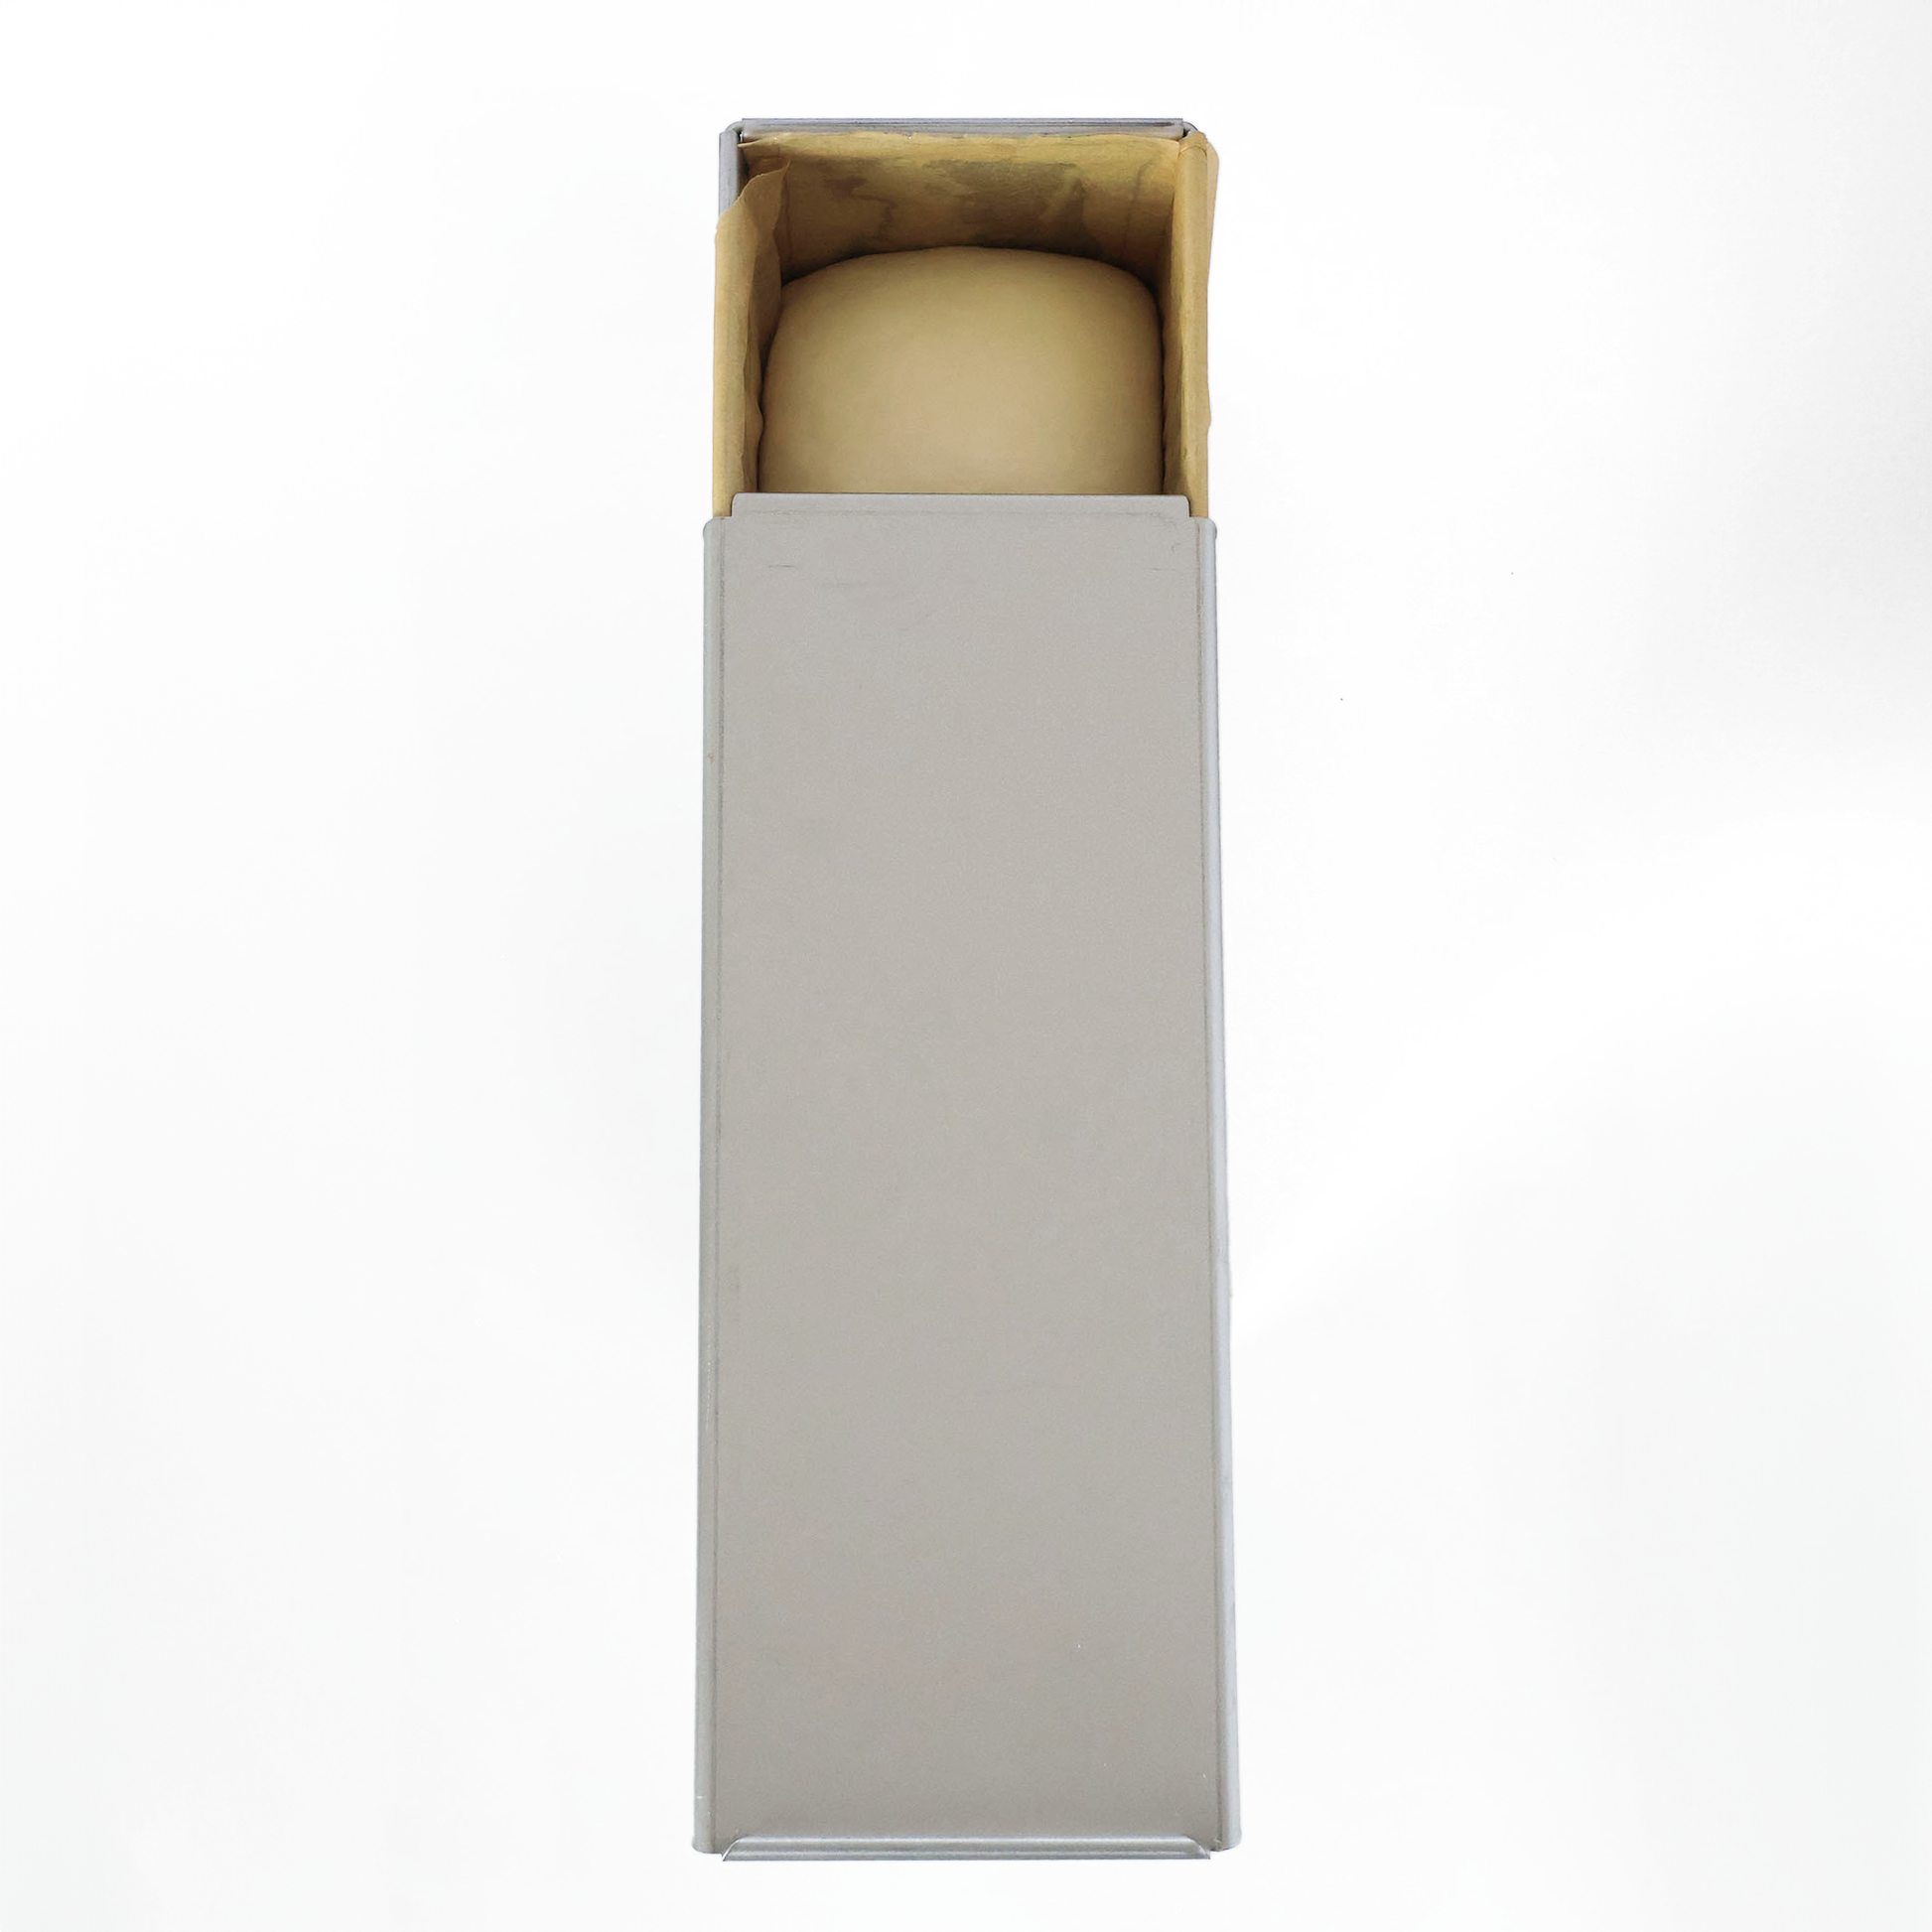
Preheat and Prepare: Preheat your oven as per the recipe instructions. Lightly grease the bread tin and lid to prevent sticking. We recommend lining with baking paper for a completely non-stick bake.
-
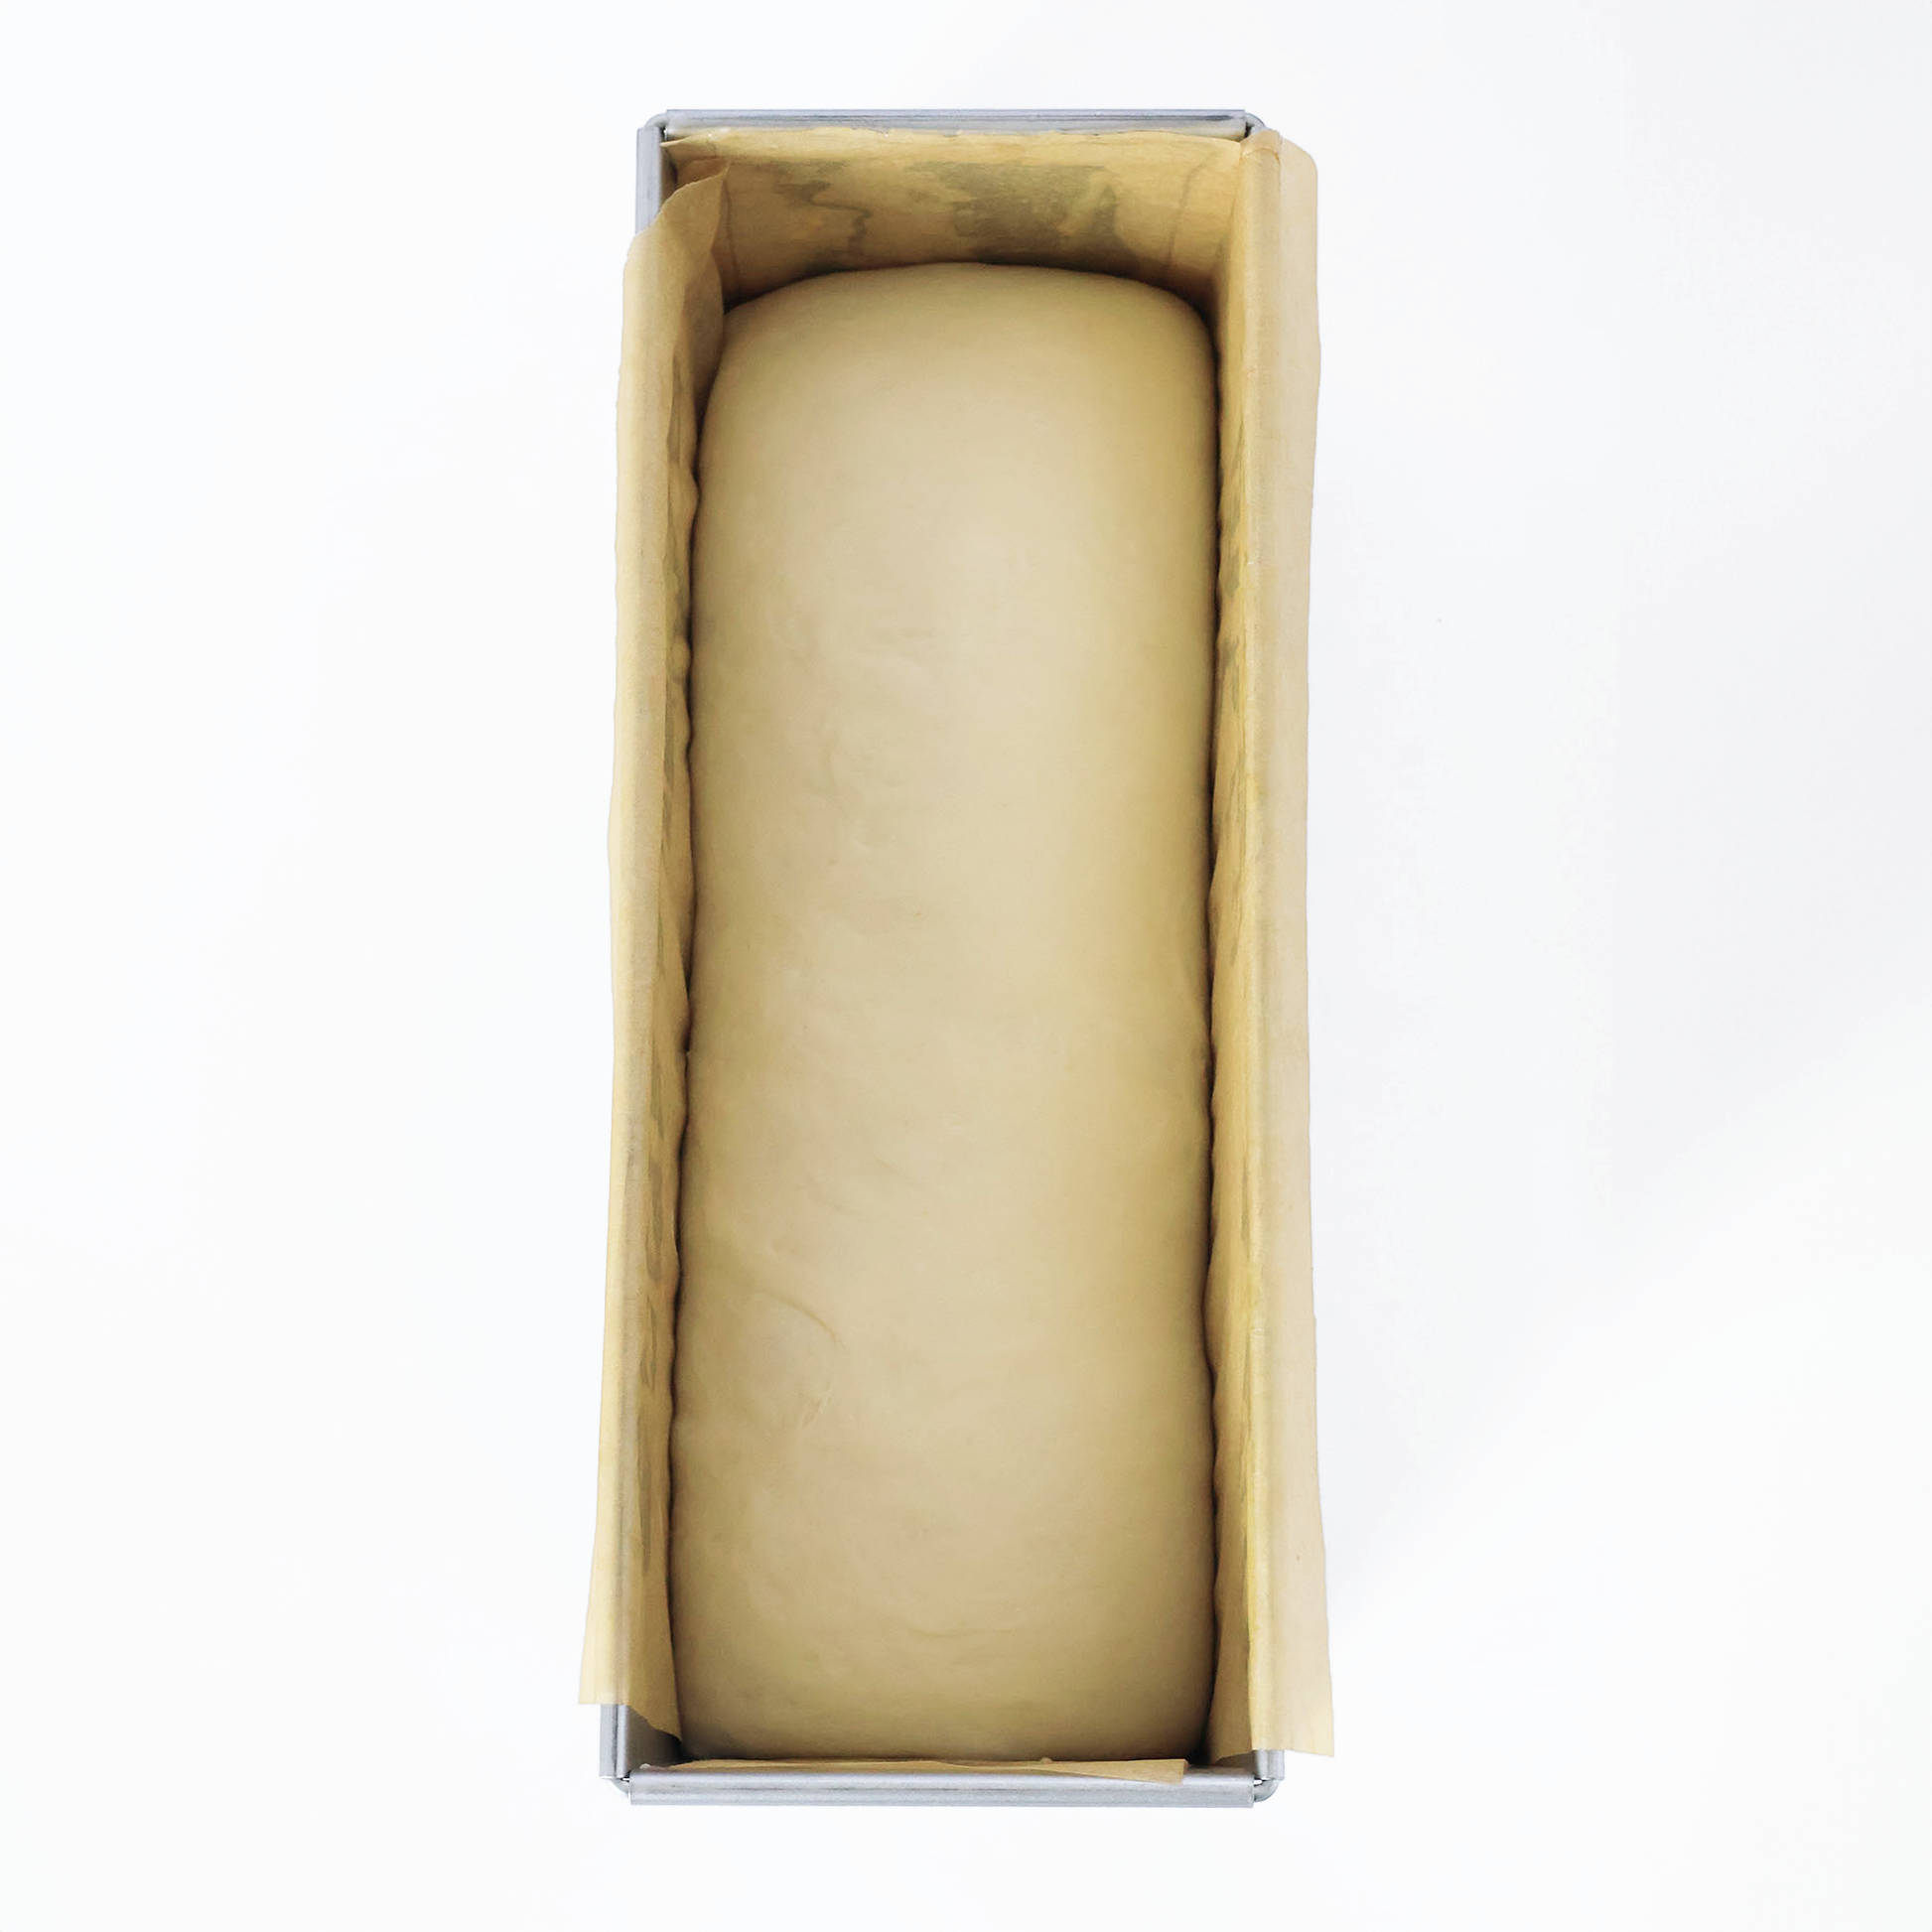
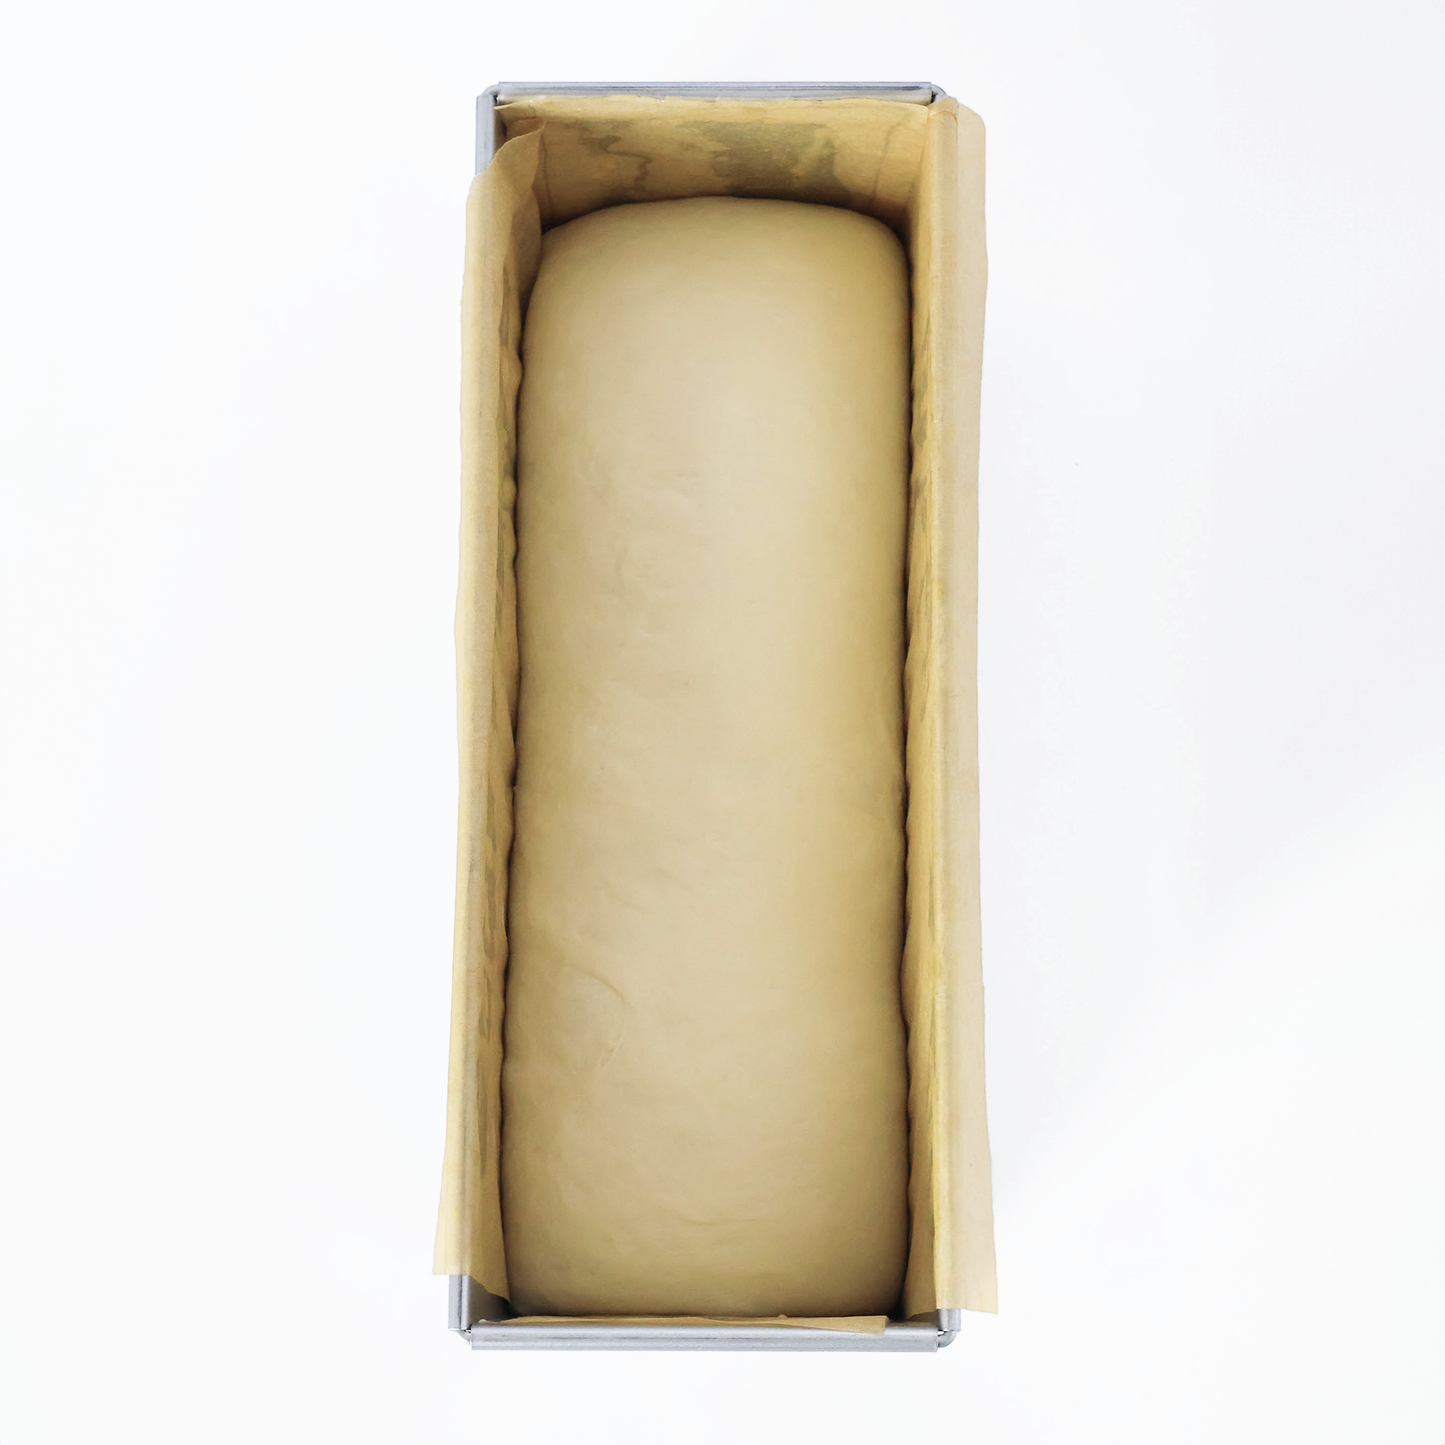
Shape and Proof: Once your dough has risen, shape it and place it into the tin. Allow it to proof until it has doubled in size, with the dough just reaching just below the rim of the tin. You can use the lid as a cover while it's proofing.
-
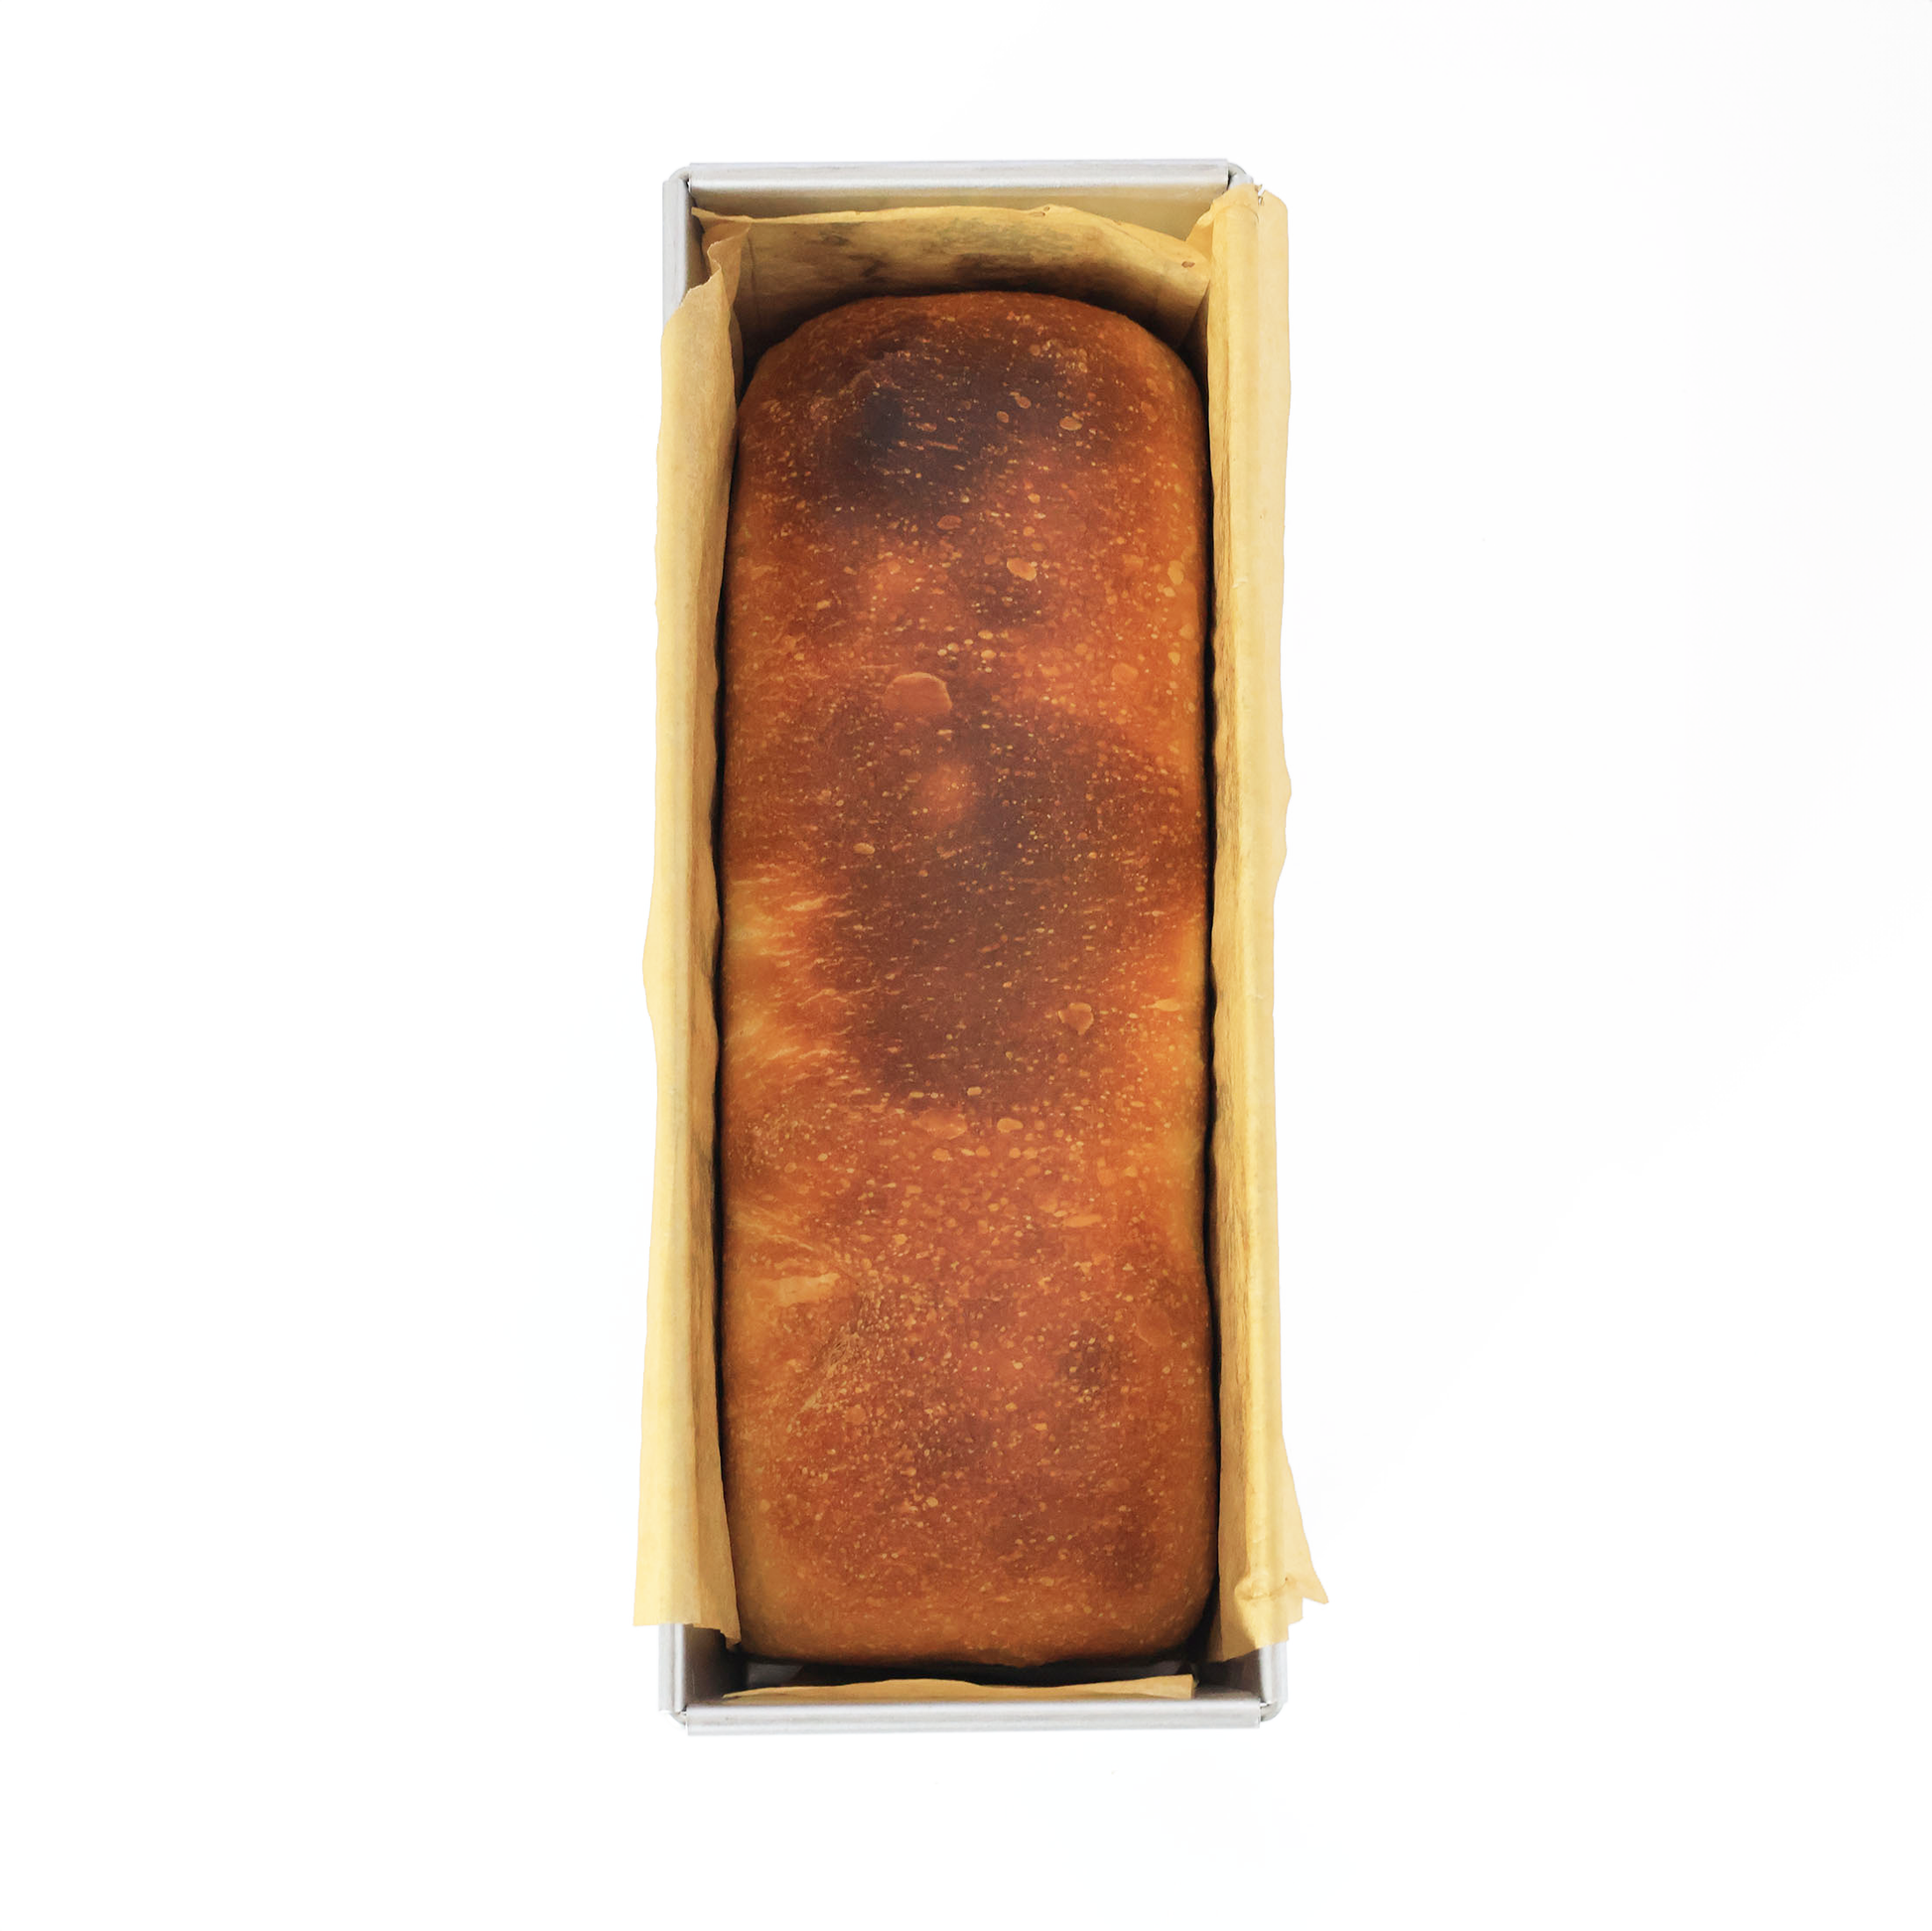
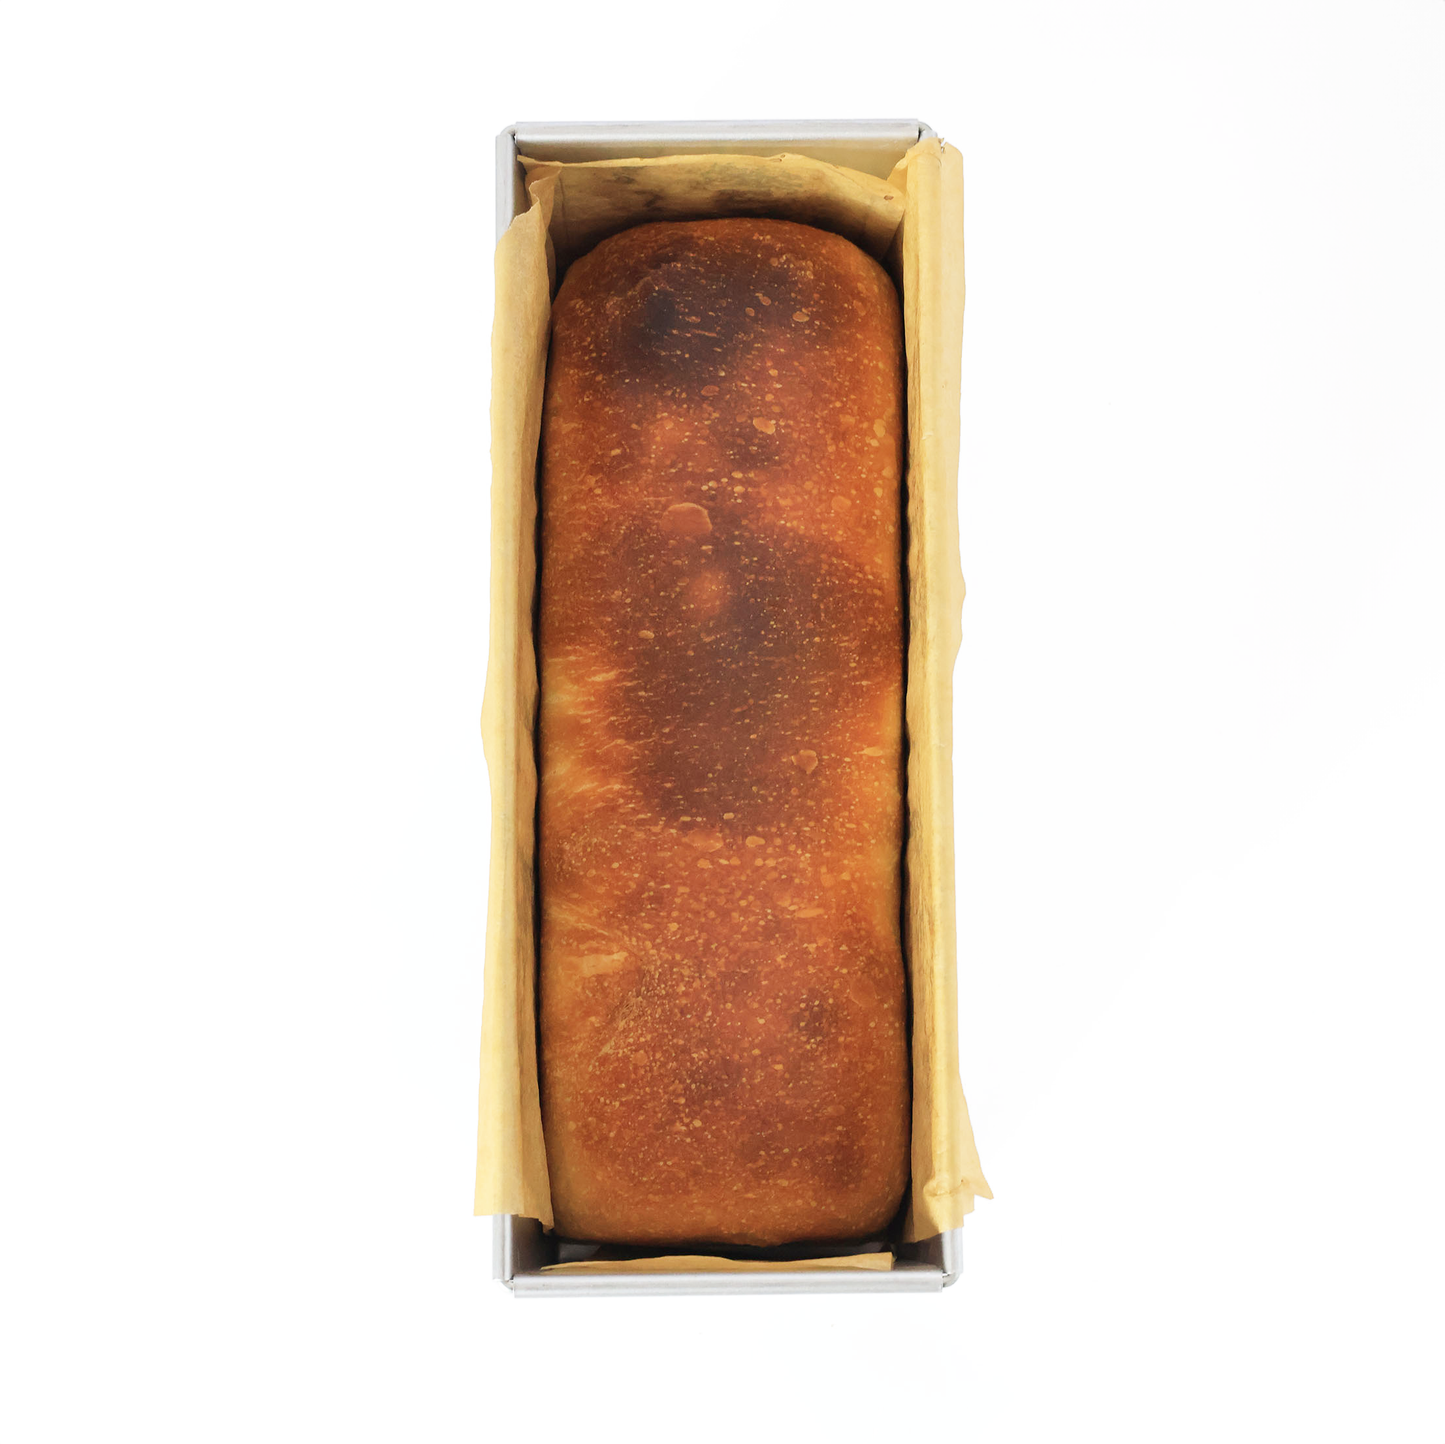
Bake with the Lid On: Bake with the lid on for the first 20 minutes. This traps steam and helps create a perfectly domed, golden crust.
-
Finish Baking Without the Lid: After 20 minutes, carefully remove the lid (use oven mitts!) and continue baking for the remaining time specified in the recipe.
-
Cool and Enjoy: Once baked, remove the loaf from the tin and let it cool completely on a wire rack before slicing.
This tin also works great with our recipe for Japanese Milk Bread!
Love the large size and the fact that it comes with a lid! It’s so sturdy and I’ve made many loaves of sandwich bread since purchasing it and they always turn out perfectly baked with a lovely browned crust and the size of the slices is perfect for toast and sandwiches.
Sadly it’s sold out as I think I need one more!
I bought the square loaf tin and sourdough starter jar. The square tins with lids are really hard to find and I was glad that YKS had one - and it works great! We made a perfect square sourdough sandwich loaf. The jar has also been handy, with the temperature indicator and lid that can release air while keeping out bugs etc. So many jars on the market are just regular big jam jars with an elastic band which is a total cop-out! Really happy with my purchases. Thanks!
This works.really well, and is great quality. Love love love
The product itself seems cool, but actually having the starter do what it’s meant to do is more difficult than expected. I’ve been working on feeding the starter for a week and still doesn’t seem strong enough to use. Doesn’t grow like it’s meant to. Googling shows that temperature may be an issue, so I’ve kept it in a warm place, but I’m not winning. Very frustrated
Purchased Crumpet rings, Heavy Duty Bread tin with Lid, flour and replacement starter.
Good quality
Very prompt service

